When product CGI or character close-ups require more texture detail, UV islands can be distributed across multiple UDIM tiles. The primary tile typically starts at 1001, with subsequent tiles numbered sequentially, each supporting a different resolution. This approach allows key details to be managed separately and enables distinct texture budgets for close-up and distant shots.
What Problem Does UDIM Solve First?
When a single texture covers an entire model, maintaining consistent detail density is often difficult. Product fronts, bottle caps, metal edges, and character faces may require higher precision, while undersides or distant areas demand less. UDIM allows these UV regions to be placed on separate tiles, with sizes allocated according to shot requirements.
It still relies on proper UV unwrapping, clear naming conventions, correct color spaces, and support from DCC tools and renderers. Adding tiles will not fix topology, seams, or material settings; texturing rules must still be established during the modeling and look development stages.
Allocating Tiles by Shot and Material
When planning, first list shot distances, material types, and details that must be preserved. For product close-ups, specular highlights, surface textures, and engravings can be assigned to dedicated tiles, while distant or occluded areas use lower resolutions. Character faces, clothing textures, and props can also be planned separately based on their frequency of appearance in shots.
For the initial sample, use tiles 1001 and 1002 to check for UV boundary issues, texture seams, and close-up clarity before expanding coverage. The sample must undergo actual baking, lighting, and rendering; opening texture files alone cannot demonstrate the final result.
Naming ensures software can locate files.
Filenames may use <UDIM> or <UVTILE> as placeholders, allowing software to read and write textures by tile number. For example, product_basecolor.<UDIM>.exr can correspond to files such as 1001 and 1002. Teams should document naming conventions and color spaces in asset specifications to prevent inconsistent interpretation across different software.
The tile manifest must record at least the ID, resolution, purpose, and missing status. Before delivery, perform a batch check to confirm every UV region has a corresponding file and that filenames match project references. Renaming files late in production often causes missing textures more frequently than adding a new tile.
Target formats require separate validation.
Different DCC tools, renderers, and export formats may handle UDIM differently. Blender's glTF documentation states that exporting materials with UDIM splits textures and updates material nodes. If glTF delivery is required, open the exported file to verify tiles, materials, and colors remain correct rather than relying solely on export success.
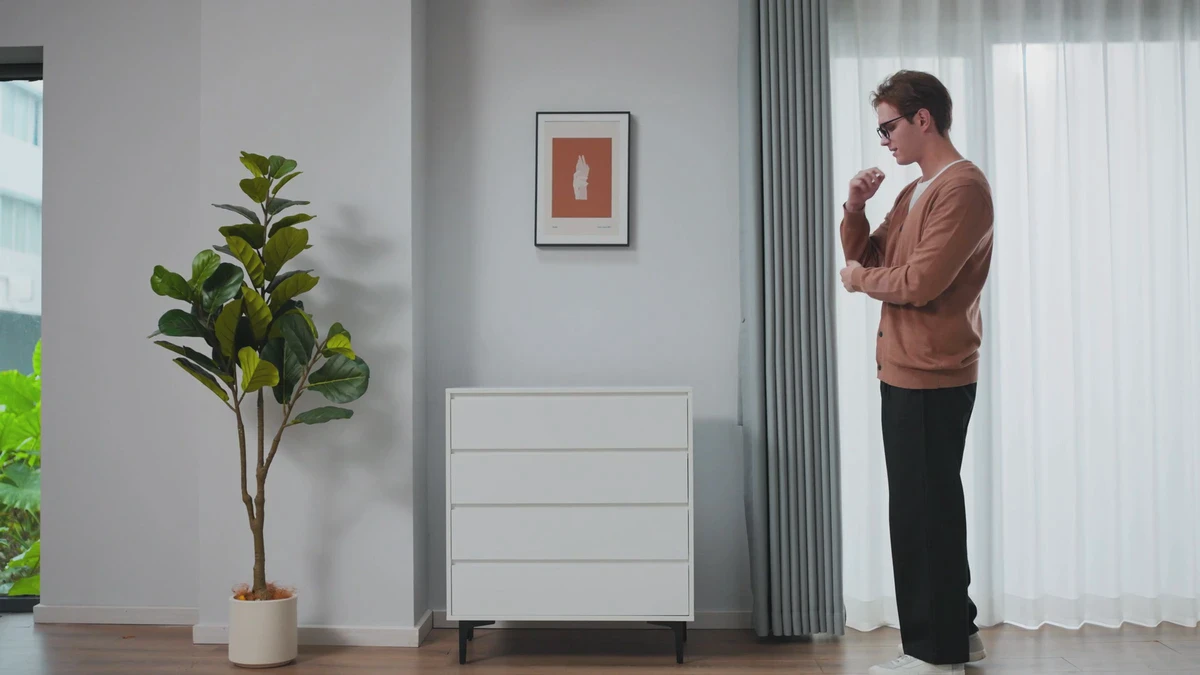
The ONCE high-reflectivity product frame shown here is used to observe materials, edges, and highlights; it does not represent a UDIM asset or an external case study.
Deliver guidelines along with the assets.
The complete delivery package should include models, UVs, tile lists, naming conventions, color space, texture files, missing-file check results, and target-format proxies. Close-up shots must also include a reference image rendered at final resolution. This enables the recipient to quickly identify missing textures, seams, and insufficient detail when loading the model.
Asset Verification
- Blender UDIM workflow
- Blender UV workflows
- Blender glTF UDIM export note
- Research Seed 0607 UDIM UV mapping