Product ad rendering rarely relies on a single global quality setting. V-Ray's adaptive sampling evaluates sample variance and noise thresholds to allocate varying sample counts across different regions. Reflections, refractions, depth of field, motion blur, and volumetric effects alter sampling demands, so parameters must be tuned per shot.
Progressive vs. Bucket Sampling
Progressive sampling converges the entire image gradually, making it ideal for quickly evaluating overall lighting and material relationships during adjustments. Teams can assess the visual direction before the render is fully clean to decide whether to continue or stop. It requires retaining more image data in memory, so overhead should be tested based on resolution and render elements.
Bucket sampling completes the image region by region, suiting production renders requiring precise control and distributed rendering scenarios. The trade-off against Progressive depends on the shot, memory, render nodes, and delivery method. No single sampler fits all product shots, so testing with target shots first is more reliable.
Four Key Results to Check in Test Renders
For product ads, start with low-resolution lighting tests and record the following four items.
- Sample rate. Check which areas are allocated more samples to avoid wasting budget on unimportant parts of the frame.
- Noise. Compare noise variations in shadows, reflections, and gradients to confirm whether the threshold suits the shot.
- Reflection highlights. Observe highlight shape, position, and changes across consecutive frames to prevent materials from appearing disconnected.
- Material edges. Check for noise or aliasing along the edges of metal, glass, and high-gloss surfaces.
Test renders help determine whether issues stem from lighting, materials, sampling, or compositing. Once the direction is set, increase resolution for short sequence tests; do not base settings for the entire film on a single still frame.
Evaluate complex effects individually.
Reflections and refraction increase light path complexity, depth of field and motion blur require more samples per pixel, and volumetric effects alter noise distribution. When these effects are present, first identify the areas that truly need high quality, then compare sampler, noise threshold, and material settings. Reduce complexity in non-critical areas while preserving sufficient testing margin for key highlights and product edges.
Do not directly carry over values from older V-Ray versions into the current project. V-Ray 7 features and parameters vary by host application, so final settings should be based on the current version’s documentation and local test renders.
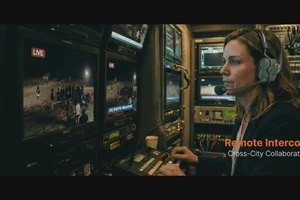
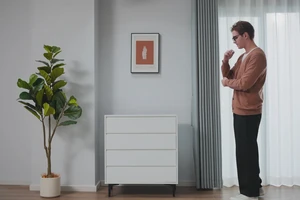
Frames from ONCE's proprietary appliance product videos are shown here to observe highlights and material reflections; they do not represent V-Ray render output.
Do not omit delivery records.
Upon final delivery, record at least the host software and version, V-Ray version, sampler type, noise threshold, color management, render elements, and output version. When re-rendering or adjusting highlights, the team can revert to the same settings, reducing rework caused by unclear versions and parameters.
Asset Verification
- Chaos Adaptive Sampling
- Chaos V-Ray Image Sampler
- Chaos What's New in V-Ray 7
- Research Seed 0801 V-Ray article