Practical Guide to Virtual Production Data Calibration and Feedback Workflow
Why does virtual production require an independent data stream?
In commercial and film production, virtual production is not a simple green screen replacement. It relies on a real-time rendering engine to project virtual backgrounds onto an LED display wall. The core of this process lies in ensuring that the perspective of the virtual world is completely consistent with the movement of the real camera. If there is latency or deviation in the data link, the audience will immediately notice a sense of incongruity. Therefore, data transmission, hardware calibration, and on-site feedback must be treated as three independent stages and strictly managed. Negligence in any stage may lead to the collapse of the entire scene, causing the massive resources invested in pre-production to go down the drain.
How does data distribution build a stable network?
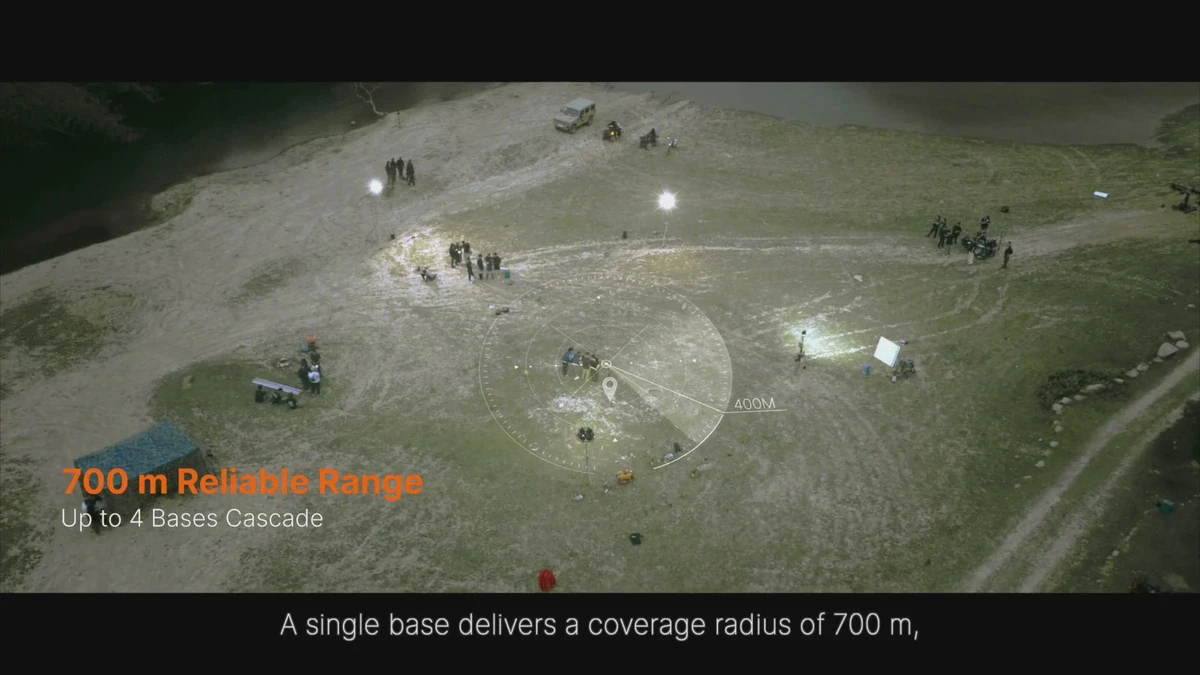
nDisplay is a key component connecting render nodes to LED display clusters. It splits and distributes the scene image to multiple displays, forming a seamless large screen. To maintain high frame rates, a protected, high-throughput local area network must be set up on site. Any network fluctuation can cause screen tearing or desynchronization. In addition, master clock synchronization is crucial; all render nodes and display controllers must be locked to the same time base to ensure image consistency at multi-screen seams. It is recommended to create version record documents detailing the time points and test results of each network topology adjustment for quick traceback when problems occur. This rigorous recording method helps the team clarify the context during complex production cycles and avoid repeating mistakes.
What key signals does Live Link receive?
Live Link is responsible for receiving transform data from cameras, lighting, and robotic arms. This data includes position, rotation angles, and lens parameters. Only when this real-time data is accurately fed into the engine can the virtual background correctly perspective shift with camera view changes. If tracking data is lost or drifts, the virtual scene will not be able to follow actor movements, causing goofs. Therefore, the stability of the data link directly determines the feasibility of the shoot. In practice, small sample test data packets should be sent regularly to verify Live Link's response speed under different loads, preventing stuttering caused by data congestion during the actual shoot. This preventive testing can greatly reduce the on-site accident rate.
Why does camera calibration need to match lens distortion?
Merely knowing the camera's position and orientation is not enough. The calibration process must precisely match the optical characteristics of the real lens, including focal length, aperture, and lens distortion. The virtual camera parameters in the engine must correspond exactly to the physical lens. If this calibration is not performed, images in the edge areas will appear stretched or distorted, ruining visual realism. This is a key step distinguishing professional virtual production from ordinary demos. Cinematographers should perform multiple calibration tests at different focal lengths and save the corresponding configuration files for quick restoration to optimal condition when changing lenses. Every fine-tuning of parameters requires repeated verification to ensure the geometric accuracy of the final image.
What is the functional division between the inner frustum and the outer frustum?
The virtual scene is divided into an inner frustum and an outer frustum. The inner frustum displays background content that directly matches the camera's view, used for interactive reflections of foreground actors. The outer frustum provides ambient light and indirect illumination, lighting actors and props even when not within the camera's field of view. This division ensures the consistency of lighting logic, avoiding unnatural shadow discontinuities on actors. The post-production team needs to intervene in advance to confirm whether the lighting ratio of the inner and outer frustums meets the final color grading requirements, avoiding massive lighting corrections in the post-production stage. A reasonable frustum division can significantly enhance the overall texture of the image.
How to avoid moiré and visible pixels?
The physical characteristics of the LED studio directly affect image quality. Screen pixel pitch, camera sensor size, shooting distance, and angle can all cause moiré or expose the pixel grid. Strict lens testing must be conducted before the official shoot. By adjusting the camera focal length and distance to the screen, the optimal balance point is found. Neglecting this step will lead to unfixable image flaws in post-production. It is recommended to create a failure warning list detailing common parameter combinations that cause moiré for on-site technicians' reference, thereby mitigating risks before rolling. This meticulous preparation is the foundation for ensuring the final video quality.
Why should performance testing be conducted on site?
Epic Games' best practices emphasize that smooth operation on a workstation does not equate to stable performance on an LED wall. The art team and on-site technical team must conduct performance testing together. Due to nDisplay's distribution overhead and the LED wall's refresh rate limitations, scene complexity must be strictly controlled. Only assets and settings validated on-site can guarantee stable frame rates during official shooting. During testing, maximum load scenarios should be simulated to observe the CPU and GPU utilization of rendering nodes, ensuring sufficient safety margin to handle unexpected situations. This cross-departmental collaboration can effectively eliminate the gap between technology and art.
How to handle shots that cannot be completed in-camera?
For shots that exceed the LED wall's coverage range or require extremely high precision, a hybrid approach can be adopted. Switch to green screen shooting within the camera's field of view while retaining the outer frustum's environmental lighting. This ensures the authenticity of the subject's lighting while leaving sufficient room for post-production compositing. This trade-off strategy can effectively reduce pre-production risks. Directors and cinematographers need to clearly mark which shots require this treatment during the storyboard stage and communicate specific mask extraction requirements with the post-production department to ensure the usability of the footage. A flexible shooting strategy can make the production process smoother.
What are the core items on the pre-delivery checklist?
- Confirm that all nodes in the nDisplay cluster have synchronized timestamps with no errors, keeping variance within the millisecond range.
- Verify that the camera data transmitted via Live Link has no jitter or latency, especially during high-speed motion.
- Check the color uniformity and brightness consistency of each LED wall zone to eliminate visible seam color differences.
- Test the moiré suppression effect at different focal lengths and record the optimal shooting distance and angle parameters.
- Confirm that the inner frustum background matches the outer frustum lighting logic to ensure harmonious and unified reflected and ambient light.
- Back up all calibration files and scene configurations, and establish a clear version history for recall.
Limitations and Next-Step Materials
This article only outlines the process based on general technical facts and does not include measured data of specific brand equipment. In actual projects, the driving protocols of different LED suppliers may vary and need to be adjusted according to specific hardware manuals. It is recommended to refer to the following official documents to obtain the latest technical parameters, and to perform a delivery review after each project to summarize the data calibration experience and lessons learned from this shoot, continuously optimizing the workflow.